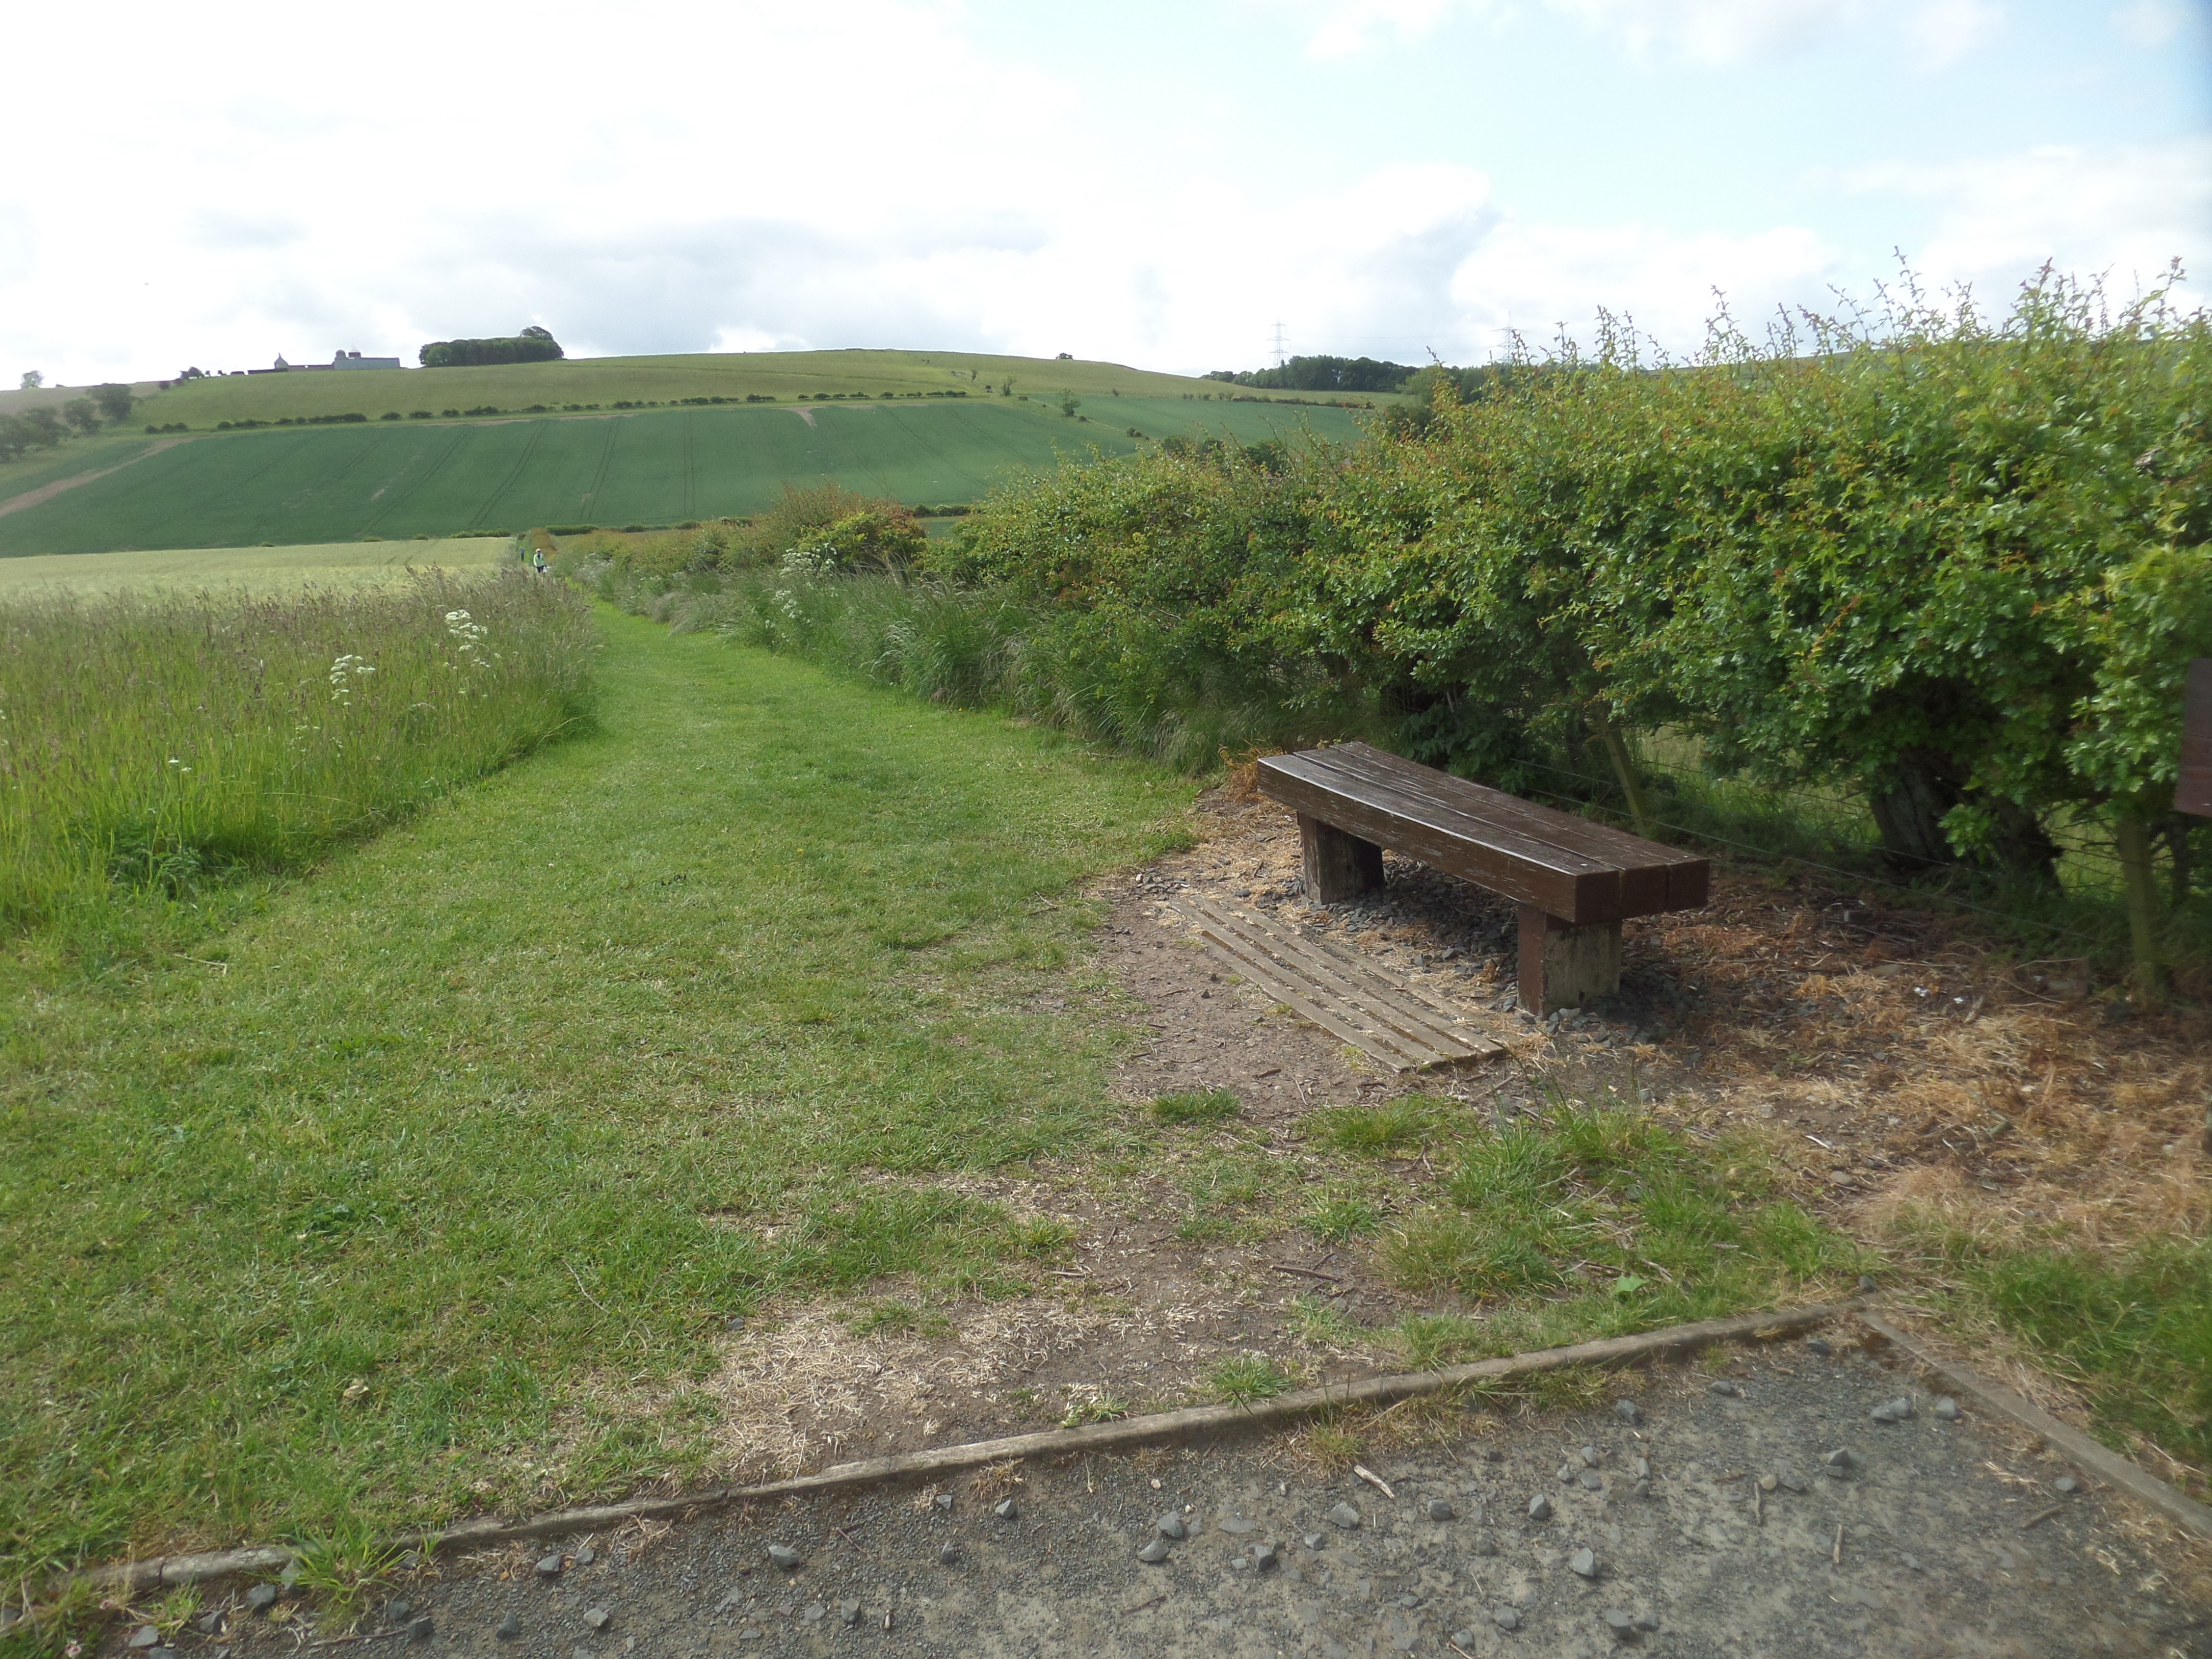
The Path down Piper’s Hill
B. Battle is Joined.
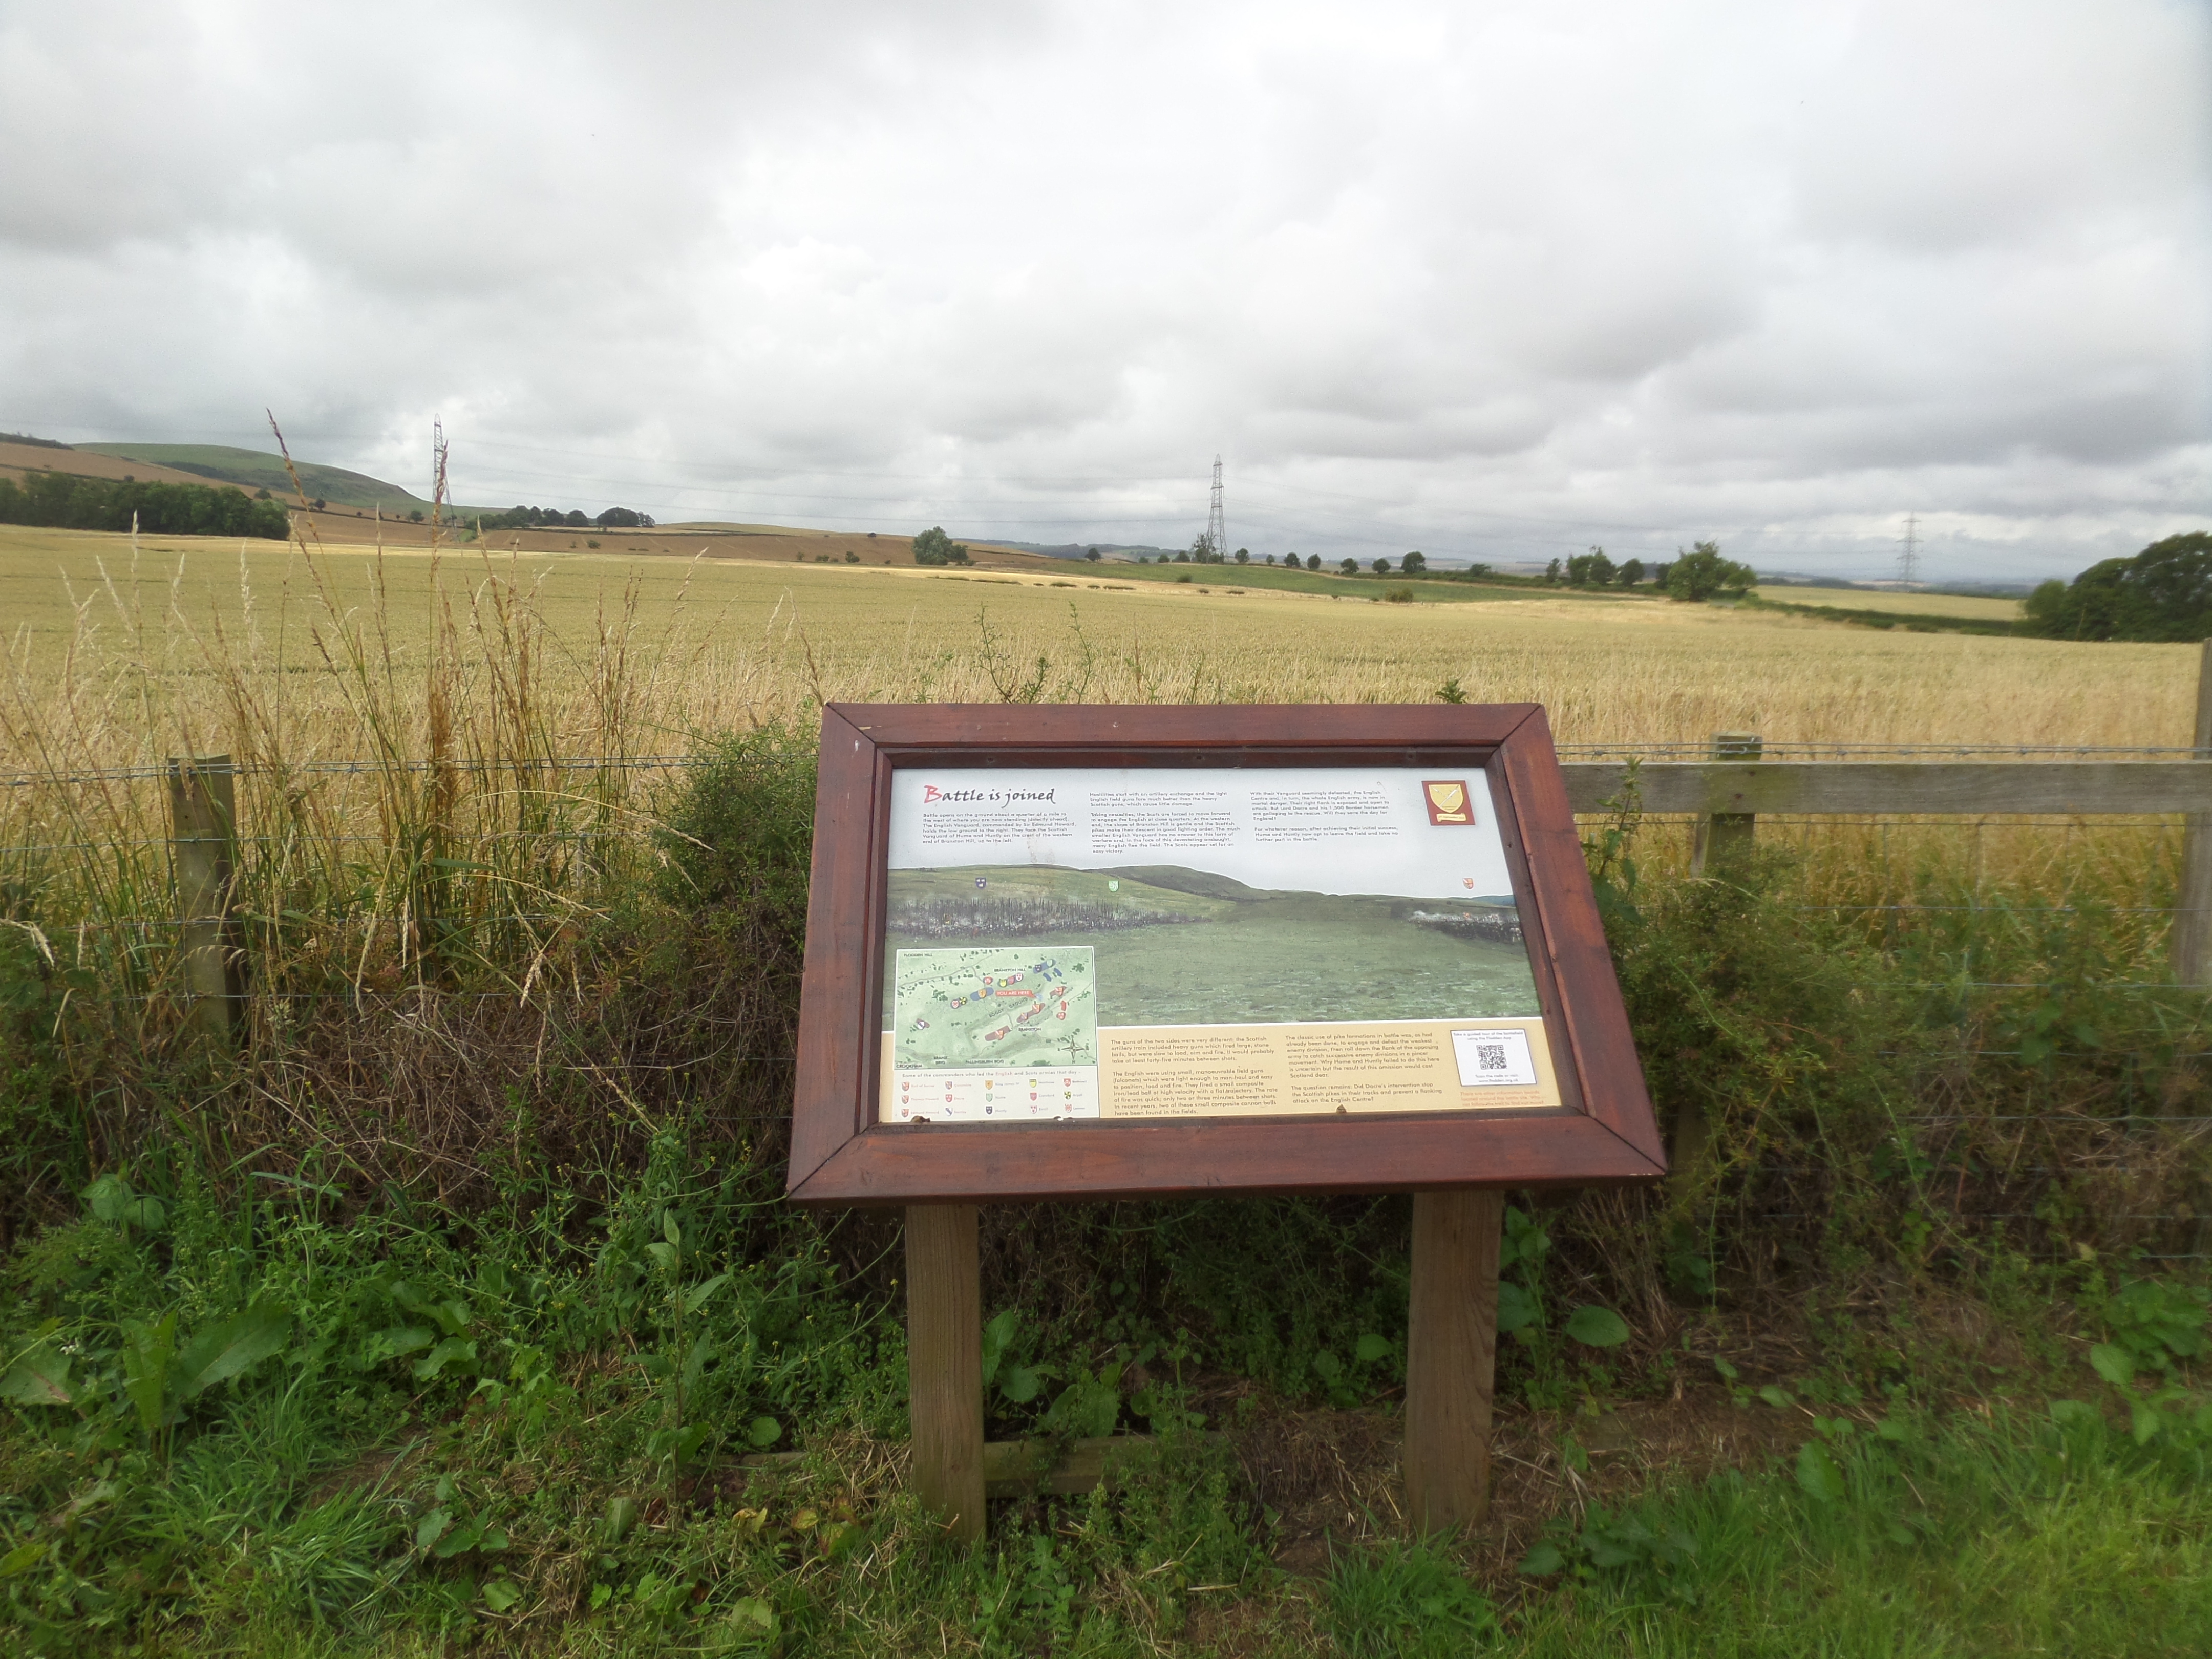
The first board which faces west describes the Scots’ early success, and how the topography favoured the pike formations, but was a hindrance to the successful use of the heavy Scottish guns.
B. The Tide of Battle Turns.
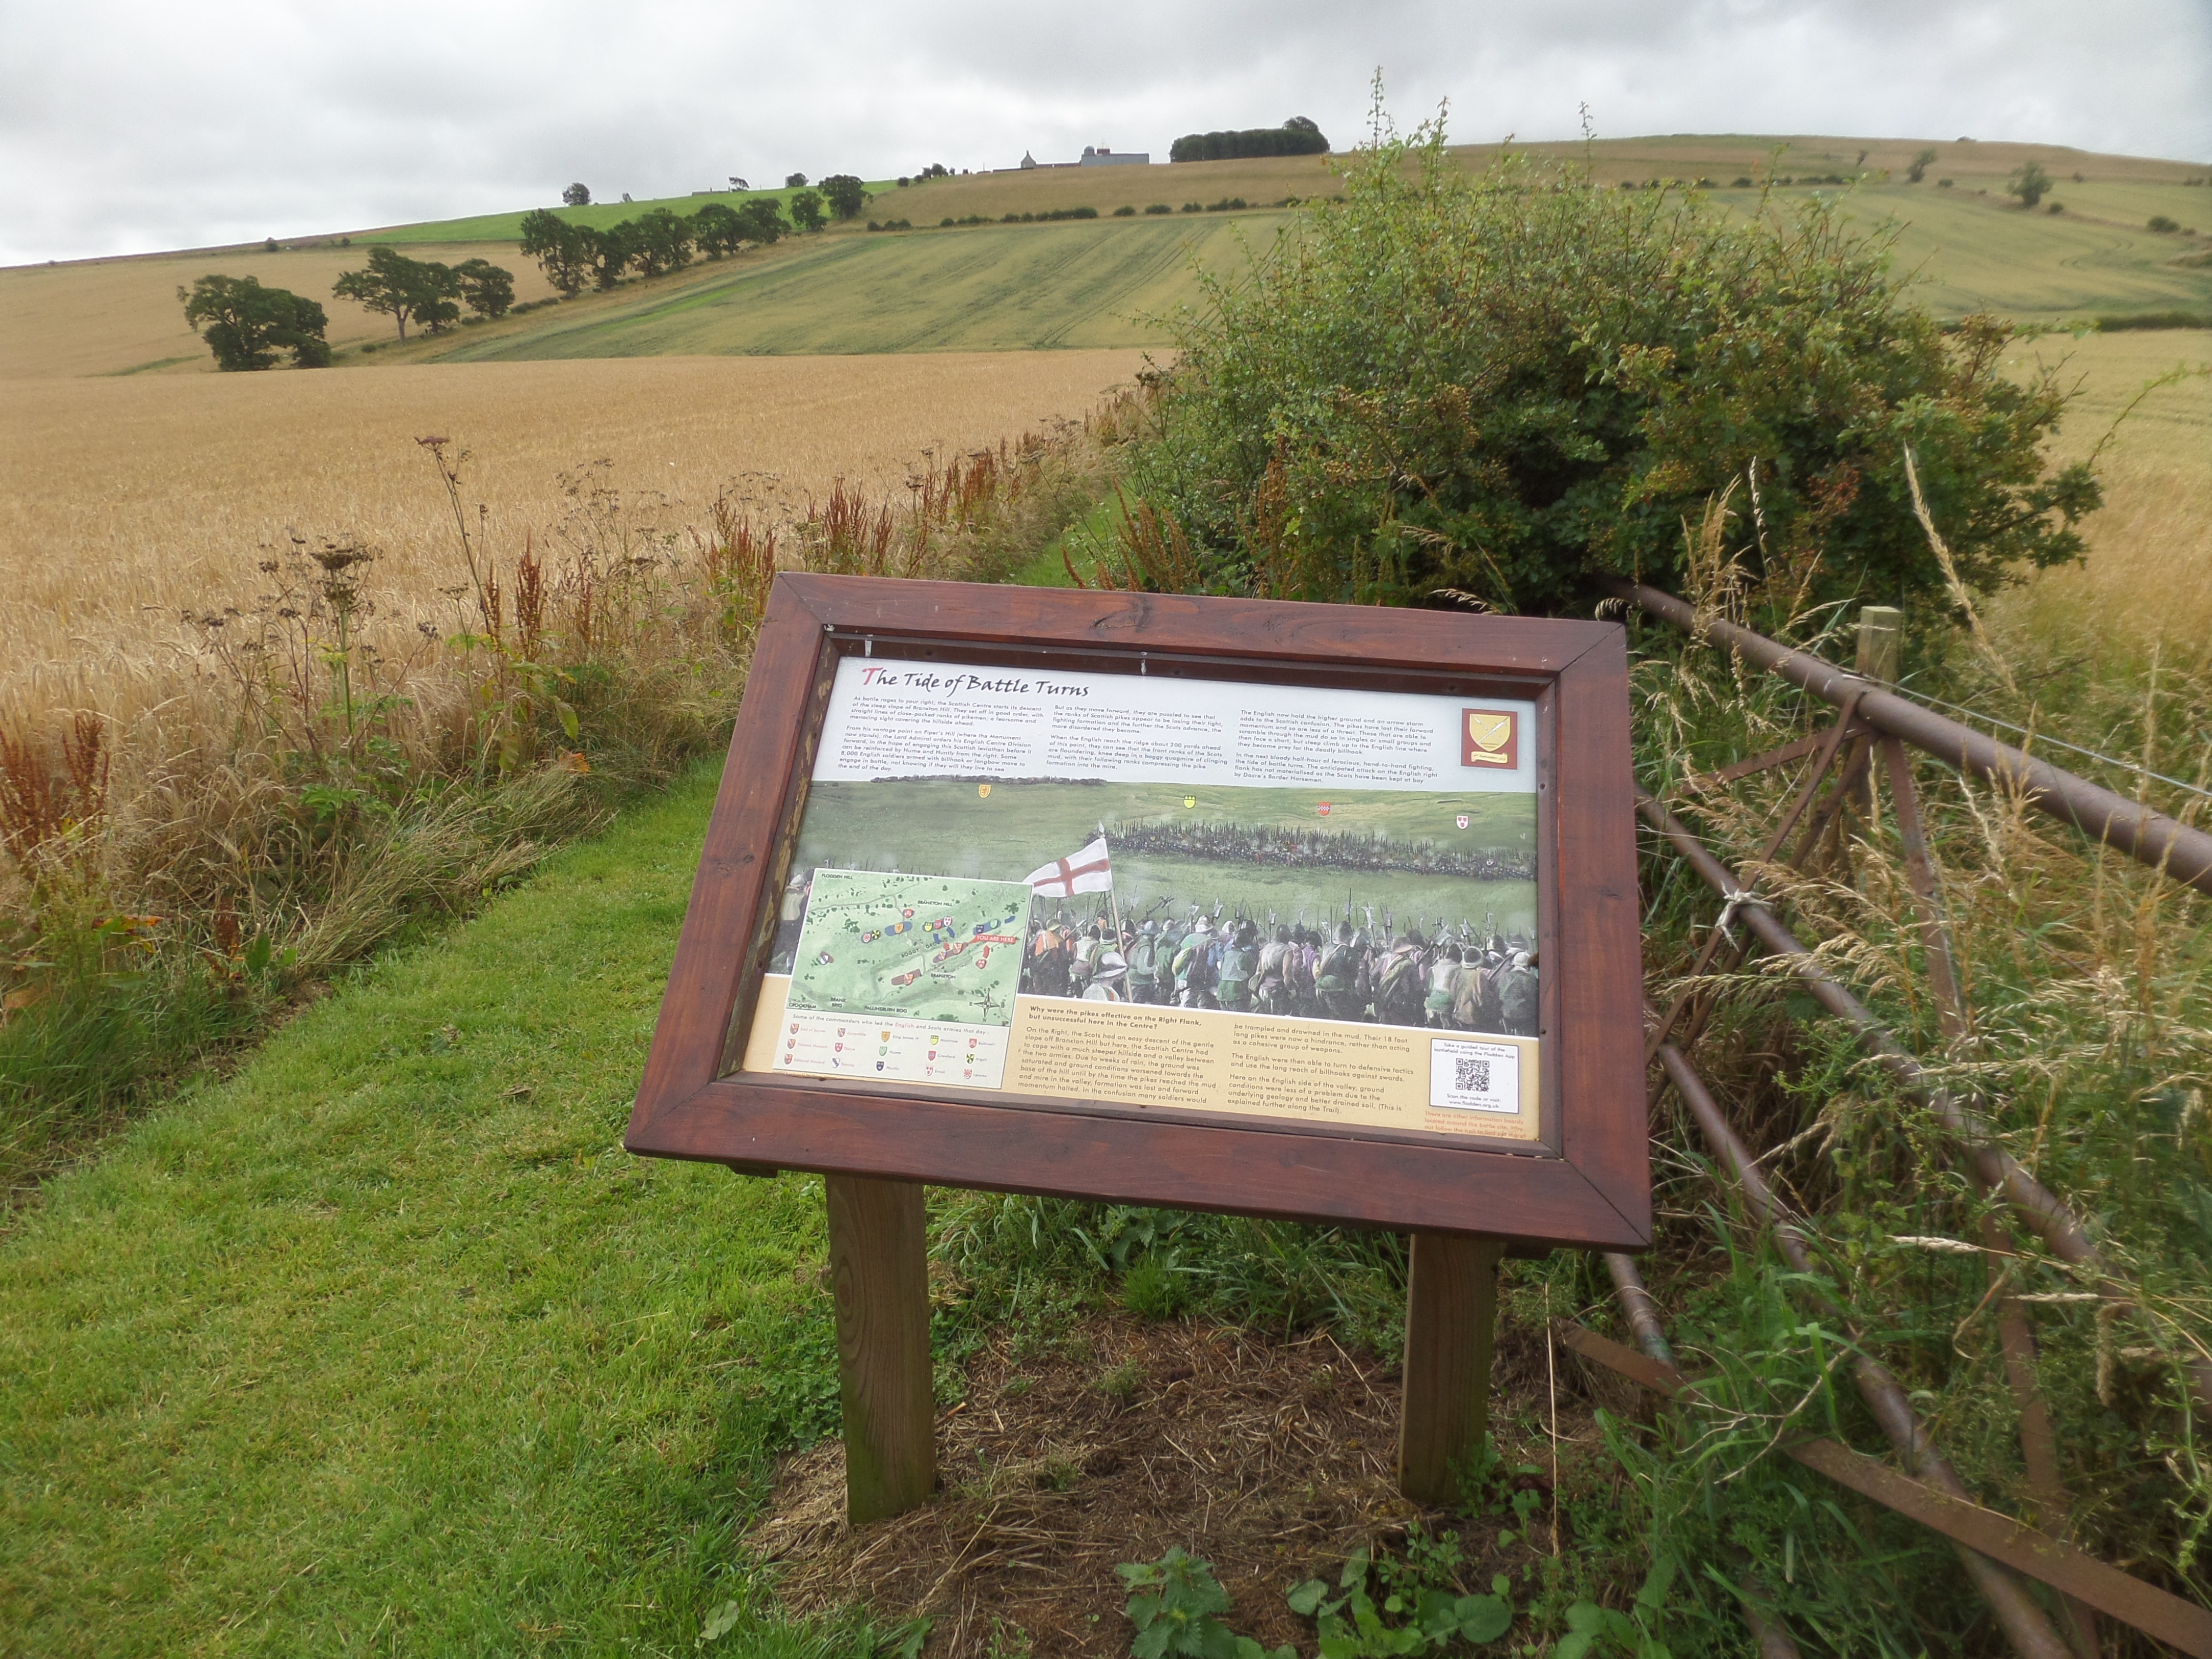
The second, south facing board describes the how the topography and ground conditions put paid to the possibility of an easy Scottish victory.
As you walk down the path imagine that you are a soldier in the English Centre Division. You are being very forcibly ‘encouraged’ to move to engage the massed ranks of Sottish pikemen approaching down Branxton Hill. You also fear a flanking attack from the victorious Scottish Vanguard to your right.
You fear that you will not see the end of this day.
It is not until you reach the much steeper slope into the valley ahead that you realise that the Scots forward momentum is severely hampered by deep and clinging mud and the dreaded tight pike formation is no longer a threat, nor has the flanking attack yet materialised.
You now hold the high ground. Arrow storms from English longbows deliver death and confusion the Scots in the valley. The English billhooks set a defensive line along the ridge to deal with the few Scottish pikes that escape the killing zone and attempt the short, but steep and deadly climb into the waiting English billhooks.
The tide of battle has turned.
⇒ Continue down the track to the ‘Armed for the Fight’ board
Continue Tour >